When you first hear ‘bungee cords’, your mind probably goes straight to bungee jumping. Whilst this is a popular activity, there are actually many ways that bungee cords can be used around the home. From shed organisation to bungee cord workouts, there are lots of uses for bungee cords around the home. This guide will list five amazing uses for bungee cords around the home, including bungee cord crafts such as shoe storage, paper towel holders and bungee cord shelf braces.
What is the best knot for bungee cord crafts?
Before we get started, some of these crafts will involve tying knots in the bungee cords. Sometimes, a standard knot that you’d use for rope or twines won’t be as effective for bungee cords. The best knots to use for bungee cords are typically either an angler’s loop or a zeppelin bend. Our guide to the best knots to use for bungee cords details how to tie each of these knots, which are perfect for use in your bungee cord crafts.
1. DIY cable protection sleeve

If you have pets or small children often wandering around your home, they may be tempted to play with or chew your cables. Not only does this damage your cables, it also poses a very serious threat to their safety. To keep your cables – and those using them – safe, you need to use a cable protection sleeve. This will also prolong the lifespan of your cables, making them less prone to bending and fraying.
To make the casing you need some thin (we recommend 2mm) Superflex bungee cord. This type of cord is incredibly flexible and durable, meaning you can protect your cables and they’ll still be easy to use. You can also customise the colour of the cord to match your home’s aesthetic perfectly. Follow the steps below to make your bungee cord cable protection sleeve.
1. Start at the end
There are two ways that you can create these cable protection sleeves – they can be either removable or permanent. If you want a permanent sleeve, begin by using hot glue to secure the end of your bungee cord to the end of the cable. If creating a removable sleeve, simply knot the cord around the end of your cable once, and then use a needle and thread to tightly sew the knot together.
2. Wrap the bungee cord tightly around your cable
Wrap the bungee cable, keeping it as tight as possible. If you’re creating a permanent sleeve, you can use dabs of hot glue here and there to make sure the bungee cord is securely fixed to the cable. Otherwise, creating tight coils around the cable should be enough to keep the sleeve functioning without the need to glue it down.
3. Knot the end
Once you have completely wrapped the cable, you’ll need to tie another knot at the end to prevent it from coming undone. Follow the same steps as you did at the start, by either glueing or sewing your cord to the charger.
4. Cut off the excess cord
Naturally, there will be some cord leftover once you’ve wrapped your cable. If you use scissors to cut the excess cord, there will be frayed ends, which looks messy and means the cord may start to unravel. Instead, get your hands on a hot knife rope cutter, which seals the ends as they’re cut, leaving you with a polished final product.
2. Wall mounted shoe storage
Get your home organised by crafting your very own DIY wall mounted shoe storage rack using bungee cords. As creative as it is efficient, this smart storage solution will remove any possibility of your favourite walking boots becoming a trip hazard, as well as proudly displaying your stylish footwear. This craft is perfect for use around the home, but also makes an impressive van shoe storage solution for those with homes on wheels.
You will need:
- Bungee cords
- Hot knife rope cutter
- Acrylic plastic sheet (around 6mm thick)
- Strong tape or other fastening material
- Paint (optional)
1. Cut holes into your plastic sheet
Lay out pairs of shoes on your plastic sheet, and mark points about an inch away from each pair of shoes. This will be where your bungee cords will be attached to the board, keeping your shoes in place.
Note: If you want to paint your plastic sheet, now is the time to do so.
You can use either a Stanley knife, craft knife or a drill to create holes in the sheet. Your bungee cord will be threaded through these holes, so ensure they are big enough to fit the diameter of the cords. For example, if you use a 6mm bungee cord, you will need to make your hole slightly wider than 6mm for the cords to thread through easily.
2. Thread cords through and secure
Thread your bungee cords through the holes, tying knots at the back of the board to keep the cords in position. Alternatively, you could hot glue the ends of the cord to the back of the sheet. Make sure that there is some slack in your bungee cord, allowing you to slot a pair of shoes in, but not too loose that they’re not held in place by the cord. Use a hot knife rope cutter to cut the excess length from each cord.
3. Mount your shoe storage rack onto the wall
Using very strong tape, hot glue or another fastening material, secure the plastic sheet to the wall of your van or home. You may want to let it set for around 24 hours before loading your shoes into the storage rack.
3. Bungee cord paper towel holder

Paper towels are a household essential, but they can take up a lot of space in your home, appearing untidy and cluttered. Don’t worry – you can still buy your paper towels in bulk and keep your home looking tidy with this smart storage solution. Create your own bungee cord paper towel holder by following these steps.
1. Secure eye hooks to the wall
First, you will need four eye hooks. Take two of the hooks and secure them parallel to one another at the base of the wall. Make sure that they are spaced apart an adequate distance to be able to hold your paper towels – if they’re too far apart, your towels won’t be held in by the bungee cords. Check this distance by holding a paper towel horizontally against the wall, ensuring the hooks are positioned about an inch or two narrower than the length of the paper towel.
Once you’ve attached the bottom hooks, move up the wall and place two more hooks parallel to the bottom hooks and to each other. Measure this distance carefully, as your bungee cords need to be stretched out relatively taut by the hooks, with enough tension to hold the paper towels in place. Once all the hooks are secured, they should create four corners of a narrow rectangle that’s slightly narrower than a paper towel roll, and tall enough to hold multiple paper towel rolls stacked horizontally.
2. Attach bungee cords to the hooks
It’s now time to attach your bungee cords to the hooks. Most bungee cords come with hooks at the end, but if you’re using off-cuts from a previous project, you’ll need to get your hands on some extra spiral bungee cords.
To attach the bungee cords to the wall, simply hook them to the eye hooks in the wall. You will have two vertical bungee cords positioned against the wall, ready to slot in your paper towels.
3. Stock up with paper towels
The last step is simply to stock up your bungee cord storage with paper towels. Stretch the cords slightly to position each paper towel horizontally in the paper towel holder. It’s easiest to start at the bottom and make your way up.
4. DIY bungee cord shelf brace

If you live on wheels or water, you may struggle with open shelved storage. With your home constantly moving, it’s easy for items to slip off shelves that don’t have doors or braces to keep things in place. Luckily, there’s a simple way that you can still keep items on display, without running the risk of them being damaged by a fall. Create a DIY bungee cord shelf brace to keep your belongings protected, even if you’re moving at 60 mph.
1. Drill holes
Measure two points on either side of your shelving where you want the bungee cord to act as a shelf brace. For example, two inches up from the base on both the left and right panels. Drill a hole in here that’s wide enough for your bungee cord to be threaded through.
2. Attach the bungee cord
Firstly, tie a knot in one end of the bungee cord. With the knot on the inside of your shelf, thread the bungee cord outwards through the hole you drilled. Stretch the cord around the front of the shelf to the hole on the other side, and thread it through from the outside in. Secure the other end with a matching knot on the inside of the shelf, leaving enough tension in the bungee cord to keep your things in place. You should now have a bungee cord shelf brace that stretches around the front of your shelf, ready to use immediately.
5. DIY custom plate rack

If you find that your kitchen cupboards are an unorganised mess, then why not craft your own bungee cord custom plate rack? This craft is a perfect solution for any home but also works amazingly in boats and RVs by preventing plates from rattling around like they would with a normal plate rack. Follow these steps to create your own custom plate rack.
1. Grab some bungee ties
Because we’re working with a lot of bungee cords in a small space, bungee ties such as ball loops or swivel ties are your best friend for this craft. They’re thin, stretchy and durable, making them ideal for holding your plates secure. If you opt for ball loops, you can also remove the balls for a less bulky finish – however, this is optional.
2. Screw some hooks into your cupboard
You will need a row of hooks on the top shelf of your cupboard, which the bungee ties will attach to at the top. The position of the hooks will determine how close together your plates are, so space these out accordingly. Make sure that the hooks are centred along the top shelf.
Beneath each of the top hooks, you will need to attach two hooks to the bottom shelf of your cupboard. These should be positioned in line with the top hook, with one at the front and one at the back. The idea is that these three hooks will support two bungee ties, which will form a triangular shape to hold your plates in place. The smaller your plates, the closer together your bottom two hooks will need to be.
3. Attach the bungees
With all of your hooks in place, it’s time to attach the bungee ties. Take one tie and loop it over the top hook, stretching it down and attaching it to one of its corresponding bottom hooks. Repeat with a second bungee tie, attaching it to the other bottom hook. Repeat this along all of the hooks until you have a cupboard lined with a sturdy, custom-made plate rack.
Feeling inspired by these creative uses for bungee cords around the home? Begin your next DIY project and have a chat with our team of experts to discover our extensive range of stock. From bungee assemblies to additional bungee accessories, we’ve got you covered. Get in touch today!

 Polypropylene Cargo Rope 10mm
From: £3.28
Polypropylene Cargo Rope 10mm
From: £3.28
 US 550 Paracord Neon Orange
From: £7.31
US 550 Paracord Neon Orange
From: £7.31
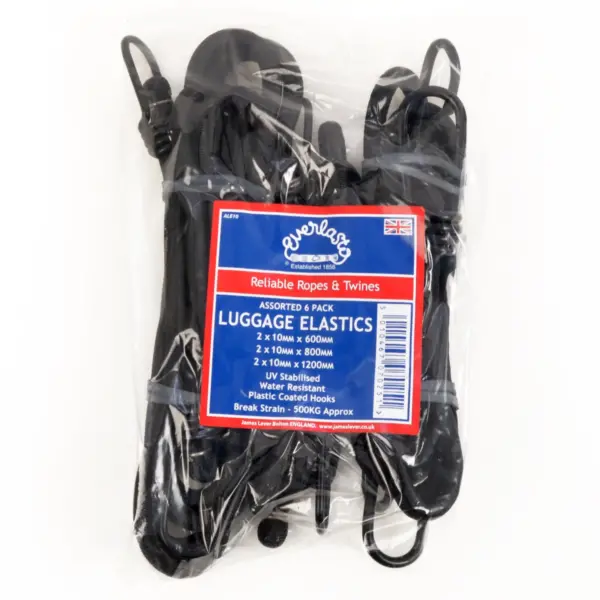 6 Pack - Assorted10mm Luggage Elastics
From: £5.36
6 Pack - Assorted10mm Luggage Elastics
From: £5.36
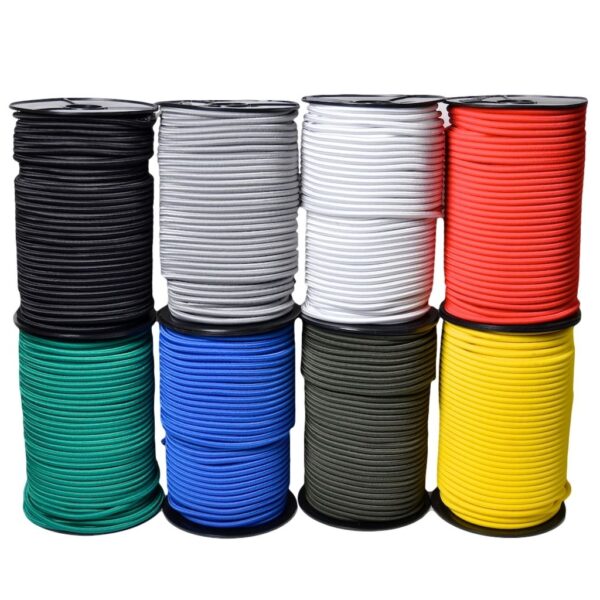 Lastoflex Bungee Cord 8mm
From: £10.32
Lastoflex Bungee Cord 8mm
From: £10.32